Drivers

 Watch tutorial
With Drivers, you can specify how changes in one layer should affect other layers. After such binding is created, whenever the driver attribute changes, for example due to user interactions in Simulator, all dependent attributes will be updated automatically. In other words, an attribute can be driven by changes in another attribute.

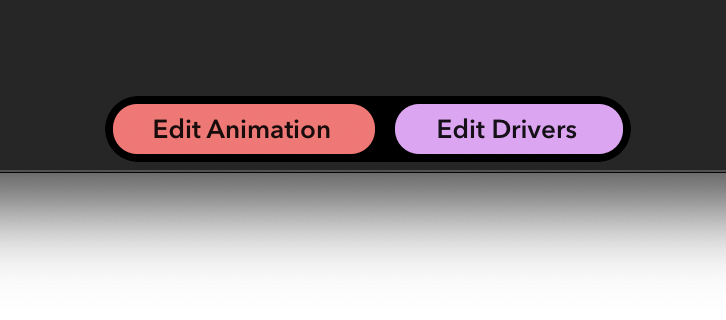
To begin configuring Drivers, click Edit Drivers button for a selected scene, which will open a Drivers panel at the bottom.

Driver Attributes
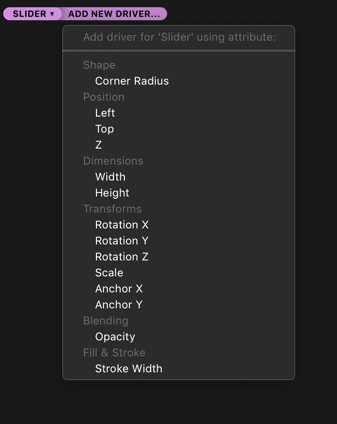
Each Driver needs at least one driver attribute which will propagate its changes to its dependent attributes. To create a Driver, select some layer, click Add Driver button in the top left corner of the Drivers panel and select the desired attribute from the list.

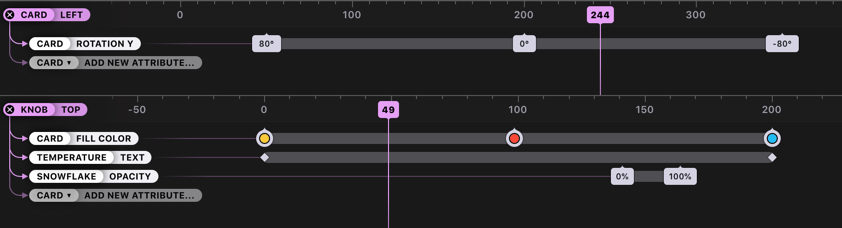
This will create a new horizontal segment in the Drivers panel, similar to animation timeline, but with some important differences. Horizontal movement of the playhead doesn’t represent time, but the value of the driver attribute. You may notice that when changing the attribute’s value, the playhead is moving and vice versa.
Some attributes will be automatically added as driver attributes, for example content offset of Scroll Layers and position of draggable layers.
Dependent Attributes
To make Driver useful, you need to connect another attribute to an existing driver attribute. To do that, select a layer (the same or different), click Add New Attribute button in Drivers panel and choose an attribute from the list. This establishes a connection bwtween these attributes, but for the Driver to have a visual effect we will need at least two keyframes on the horizontal line.
Keyframes
To create more keyframes, change the value of driver attribute (in Workspace, in Inspector, or in Drivers panel) and then change the value of the any dependent attributes. This change will create a new keyframe on the horizontal line in Drivers panel.
Each keyframe represent a relatioship of the form: “when driver attribute has value of X, then dependent attribute has a value of Y”. You can have as many keyframes for each attribute as you wish. Intervals between these keyframes will be smoothly interpolated to create a continuous visual change.
You can fully edit these keyframes – move them, delete them, change their values by double-click or using Inspector.