Animations
Content of every Scene can be animated and these animations will be rendered when simulating the scene in Simulator or in the Mirror App. Almost every attribute of every layer can be animated in a very simple way. To begin, click Edit Animations for currently selected scene.

Timeline
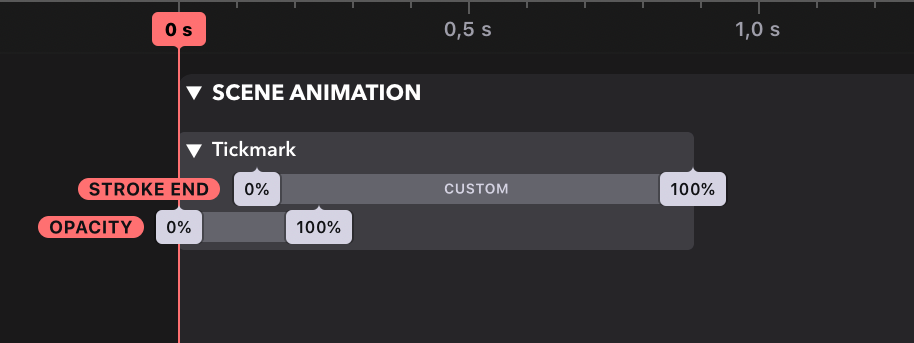

When you open Animation panel for a scene, the bottom part of the document window will show a horizontal timeline. On this timeline, you can see a playhead, usually on the time of zero seconds. By moving this playhead to any other time value, you can preview the scene at that point in animation time.
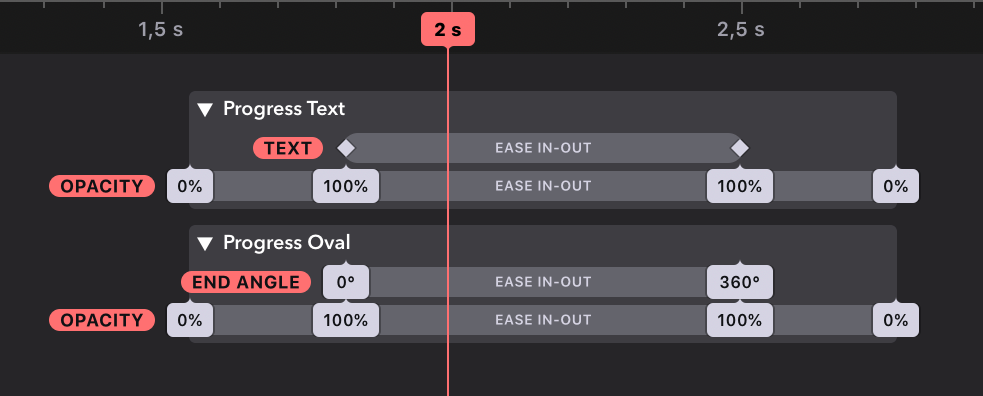
Timeline can be navigated horizontally and it can zoomed to fit more content into the view or to focus on specifc part.
Recording
To create new animations when the timeline is opened, move playhead to the desired point in time, make sure the recording button is turned on, and then simply change any attributes of any layers in that scene. As you do that, you will notice these changes create new bars in the timeline, these represent the animations themselves.
Editing
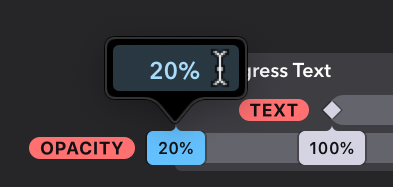
Any existing animations in timeline can be edited by selecting them. You can then move their values horizontally, you can delete them, and you can change their values by double-clicking them. The timeline also features its own Inspector on the right-hand side of the window, where you can also change timing function of currently selected animations.

Timing Functions
Animations usually interpolate values over time between predefined key values. This interpolation can be customized, to give the animation a softer or rougher feeling. Timing function of the currently selected animation can be changed in the Inspector of timeline. You can pick one of the predefined functions or even create your own.
Jump
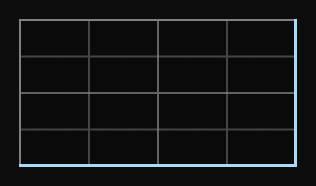
No interpolation is made and the animation becomes just an instant change.

Linear
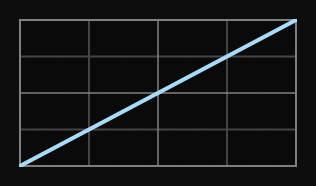
Values are calculated by a simple linear interpolation.

Ease In
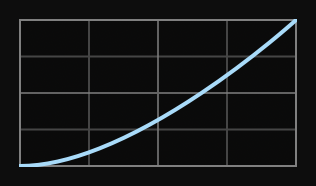
Animation will start slowly and then speed up towards the end.

Ease Out
Animation will start fast and then slow down towards the end.
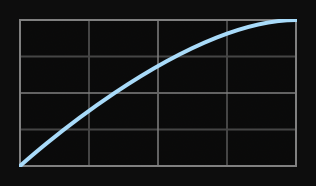

Ease In-Out
Animation will start slowly, speed up in the middle and again slow down towards the end.
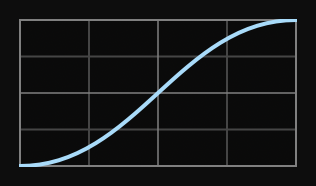

Natural
Similar to the Ease In-Out function, but this animation will start faster, speed up quicker in the middle, and then it slows down in the second half.
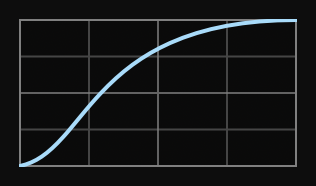

Spring
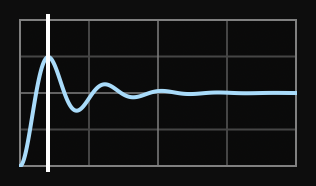
Animation with this timing function will oscillate between the two values until it settles on the final value. The oscillation speed can be configured in the Inspector. When the oscillation duration is the same or larger than animation duration, the animation will start quickly and slow down very gently towards the end, similarly to a Natural function.

Custom
In addition to using predefined functions, you can create and save your own. Start by selecting Custom item in the list of timing functions. Custom function presents two draggble handles, which you can position anywhere in the provided rectangle to adjust pacing of the animation.
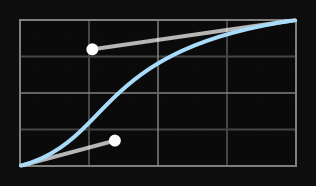

In case you want to save and reuse one specific timing function, click on the Plus button and give it a name. This named function will appear in the list of all timing functions in all your documents.
Video Export
Drama allows you to create a video from your animated scenes. To start, select the desired scene and click Export in File menu in Menu Bar. You can pick one of several formats, including MP4 or GIF, but also still images, like PNG and JPEG. Export to MP4 offers additional video quality options, like frame rate and motion blur.


